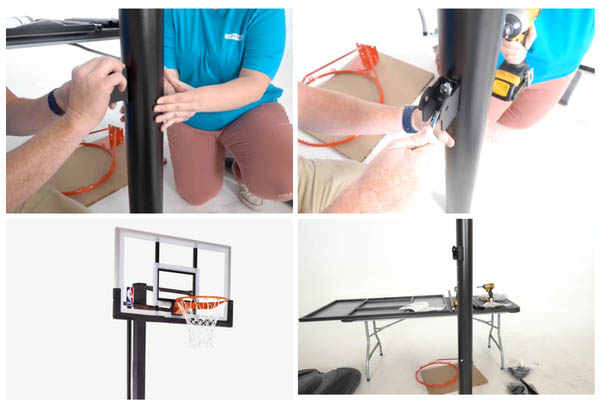
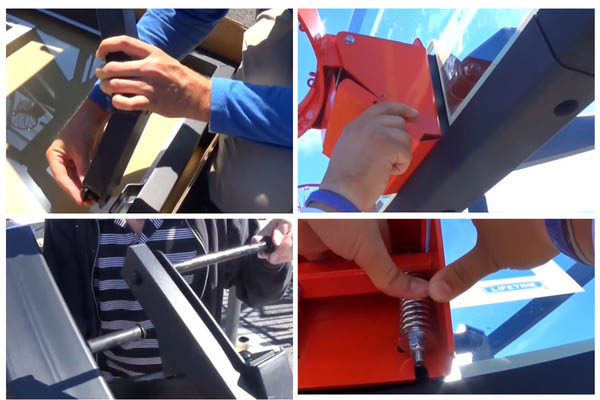
Lifetime has dominated the basketball market since the 80s, and it is one of America's most sought-after hoop sellers.
But if the basketball hoop gets misadjusted or the hoop is too high for your height, you and your friends won’t be able to enjoy your favorite sport. And it is necessary to adjust them accordingly. If you have a kid in the house, then you need to know how to change the basketball hoops.
In this article, we will learn how to adjust lifetime basketball hoop of the different types of basketball hoops according to your desired height.
Table of Contents
Types of Basketball Hoops
There are three major types of hoops out there. They are as mentioned below.
- In-Ground Basketball Hoop
- Portable Basketball Hoop
- Wall Mount Basketball Hoop
There are various adjustment methods for the three types of hoops. Mainly seven adjustment methods are prevalent in all three types of hoops. So keep an eye out for which type of your basketball hoop is.
Different Adjustment Methods of the Lifetime Basketball Hoop
A Lifetime basketball hoop has around seven different methods for adjusting its height.
Below these mechanisms will be explained in-depth so you can easily use any height adjustment system. All of these systems are available in Lifetime basketball hoops.
Check which mechanism is the one with your basketball hoop. The various methods are as follows:
- The crank actuator adjustment mechanism
- The mammoth height adjustment mechanism
- Telescopic adjustment mechanism
- Action-grip adjustment mechanism
- Power-lift adjustment mechanism
- Strong-arm adjustment mechanism
- Broomstick adjustment mechanism
1. The crank actuator adjustment mechanism
This height adjustment mechanism is commonly found in wall-mount or in-ground basketball hoops. If you have an in-ground basketball court, it is attached to the pole on the backside.
Simply rotate it, and it adjusts the height of the rim in either an upward or downward direction. When you turn the actuator clockwise, the rim goes upward; when you turn it anti-clockwise, the rim slides lower.
Furthermore, if you have a basketball hoop that is wall-mounted, the crank system is fastened at the bottom of the mounting brackets. Its operation is similar to that of an in-ground basketball hoop.
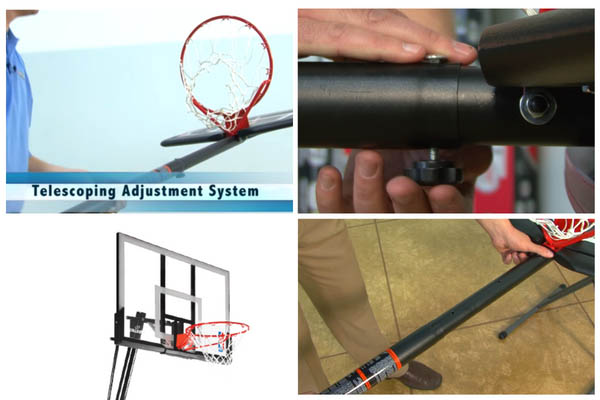
2. Telescopic adjustment mechanism
It is correct to suggest that this height-adjustable system is derived from older mechanisms. Thus it will require an extra bit of care to operate. On the rear, there is a knob that is attached to the pole.
You merely need to rotate it clockwise or anticlockwise to change its height. When you crank the knob in an anticlockwise direction, the pole loses its tightness, allowing you to alter its height in six-inch increments simply.
As there is no automated mechanism, you will need to pull the pole that has fallen six inches and tighten the knob after it reaches your preferred height.

3. Action-grip adjustment mechanism
This mechanism is commonly encountered in in-ground basketball hoops. As the name implies, an action grip adjustment mechanism requires you to grab its handle and move it upward or downward at leisure.
When you press the handle upward, the height of the rim decreases. When you push the handle downward, it raises the height of the rim. The action-grip adjusts in 3-inch increments, allowing you to modify its height from 7.5ft to 10ft.
As you can understand from the explanation, it has an inverted mechanism like the mammoth height adjustment hoop. So keep that in mind when you adjust your action-grip adjustment hoops.

4. Power-lift adjustment mechanism
We've reached the stage in the article where you can learn about a height adjustment mechanism that is sumptuous and appealing. This system is primarily comprised of an in-ground basketball hoop.
It is a significantly more expensive mechanism than the others mentioned in the list. It is simple to use, and simply lightly squeeze the lever to glide the hoop to any desired height.
Power-lift height adjustment mechanisms are typically seen in Lifetime in-ground basketball hoops.
5. The mammoth height adjustment mechanism
As mentioned earlier, there are seven adjustment methods, and this one among them is the most advanced height adjustment system available. You might also refer to it as "the hydraulic system." This method is similar to the power-lift height adjustment mechanism, except it is gas-assisted.
Simply squeeze the lever with two hands and adjust it to your preference. When you move the lever upward, the goal's height decreases.
However, moving its lever in a downward manner indicates increasing its height. Simply put, the lever mechanism is inverted. Thus, the hoop comes down when you push it upward and vice versa.

6. Strong-arm adjustment mechanism
This height adjustment mechanism is unique and uncommon in basketball hoops, and we can find this mechanism only in portable basketball hoops.
Its operation is fundamental and straightforward. This mechanism is simple to adjust, and you can complete the task with one hand; even children can do it, making this the best option if you have a kid around the house.
There is a single bar that is directly fastened to the backboard. As a result, when you move this bar up or down, the backboard slides quite smoothly in response.
7. Broomstick adjustment mechanism
This basketball hoop is ideal for those of tiny stature because it can be adjusted with the help of a stick. This system costs somewhat more than the telescopic height adjustment system.
A broomstick can easily modify the basketball hoop height when you know how to adjust lifetime basketball hoop for this type of mechanism.
First, use the broomstick to press beneath the rim between the springs until you achieve the required height. As you push it up, you'll hear a clicking sound indicating the hoop has reached the following height setting. When you get the proper height, the backboard will drop slightly and lock into place.
To lower the basketball hoop, use the broomstick to press the curved bracket on the dunk lock. Push the latch-up until you hear a click, then carefully lower the backboard.
EndNote
This article has taught you how to adjust lifetime basketball hoops with step-by-step instructions quickly. The seven types of mechanisms are explained in depth. So you should be able to change heights according to the players, and you can install the types of hoops that are easier to adjust.
You can now play without worrying about any height issues, adjust to the height you and your friends are comfortable with, and enjoy the game to your heart's content.