The true basketball courts do not have a sloped surface. Considering that, people always pick a flat surface to install the hoop. But does that mean that you can not put the basketball hoop on a sloped driveaway? Not really!
There is a proper way to mitigate the sloped problem. A sloped driveway will not be an issue if you follow that method! And in this guide on how to put a basketball on sloped driveway, we will precisely go through that method. So, if you want to make your non-flat driveway a proper basketball court, continue reading!
Table of Contents
Installing a Basketball Hoop on a Sloped Driveway
Yes, you will find multiple ways of installing a hoop on a sloped driveway. But most of them will either complicate the process or not mitigate the slop properly. Well, that is not the case for our guide!
Step 1: Get the Necessary Tools
Before you start working, you will need a couple of tools. And the list of those tools is as follows:
- Shovel
- Cement
- Concrete
- Towel or Sponge
- Anchor
- Net and Rim
- Color (Optional)
Step 2: Choose the Right
After getting the right tools, you will need to find the right placement location for the hoop. And usually, the desired location would be right beside the garage doors. However, you should check with the neighbor's ordinances and check if you will exceed your designated area.
Step 3: Use the Shovel
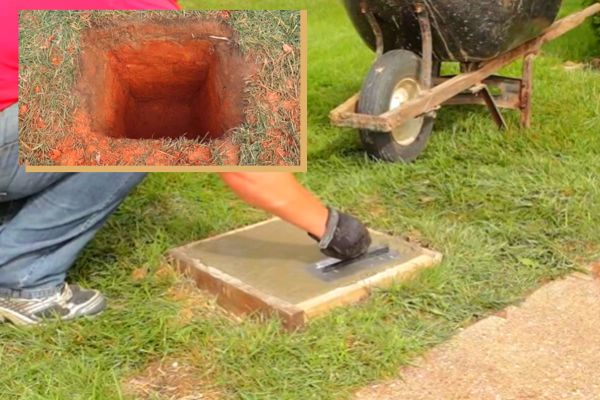
You will need to dig a hole around the location for installing the basketball hoop. And for this, you will need to refer to the model and marker of the unit. It should provide you with proper instructions regarding the diameter and size of the hole.
If you can not get your hands on a shovel, you can use an auger. And in case you need to get specific instructions, just read through the owner's manual of the tool.
Step 4: Work with the Concrete and Cement
Now that you have dug the hole, you should secure the hoop poles with concrete. Do note that some of the hoops will have a single pole. For those, you will need to pour the concrete around the pole.
On that note, while you are pouring the concrete, get a friend to hold the pole. In some cases, you will need to put the rebar-mounted anchor into the concrete after dropping it.
When you are pouring the concrete, ensure to stir it from time to time. Use the shovel to do that. It will eliminate any air pockets that might be in the concrete mix.

Step 5: Use the Sponge or Towel
Once you pour the concrete, smooth the surface of the cement with a sponge or towel. Remove any excess concrete from the top and ensure the upper layer has the proper levelling.
Leave the area to dry for at least 24 hours. Some mixes will even need 48 hours. So, read the instructions to determine the correct waiting period.
When waiting for the cement to dry, check on it for the first few hours. Make sure that the pole is not leaning. If you find the pole displaced, you should correct the position and level the surface again. Then, wait for the concrete to cure completely.
Step 6: Elevate the Pole
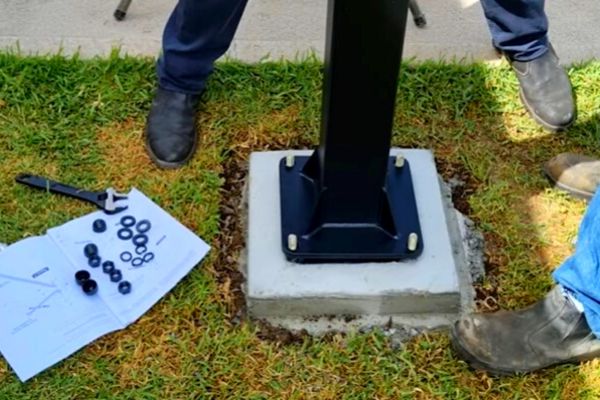
At this point, the pole should settle perfectly on the cement. And if the hoop has only one pole, you can skip the backboard installation at this step. However, do not install it right away if the hoop comes with a mounting anchor. Mount the anchor by following the instructions that came with the unit.
Likewise, if the pole bundles with a lifting mechanism, you will need to work with the mount. Ensure that the brace supports the arms and moves in the direction accordingly.
And for this step, we would recommend taking a little help from your friend again. The pole is usually heavy, and it is certainly not a one-man's job.

Step 7: Attach the Backboard
Some hoops will require you to install the backboard before the poles are lifted. On the other hand, the upscale versions will need you to install the backboard after the poles are fastened.
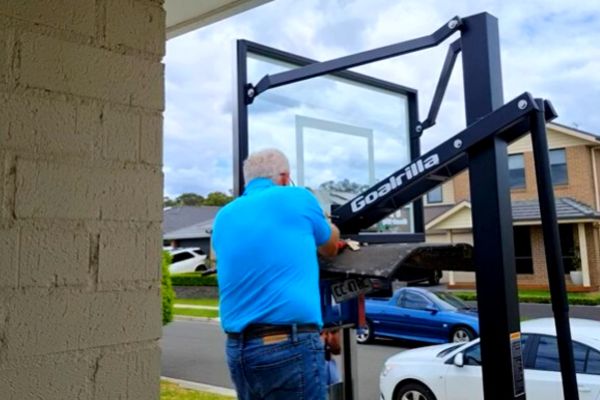
No matter what the model is for you, you should get yourself a hand as backboards are pretty heavy.

Secure the support mount and make your friend lift the backboard to the brackets. Ensure that the mount and brackets have the right amount of fastening. Or else the backboard will drop to the ground and might get damaged.
Step 8: Place the Net and Rim
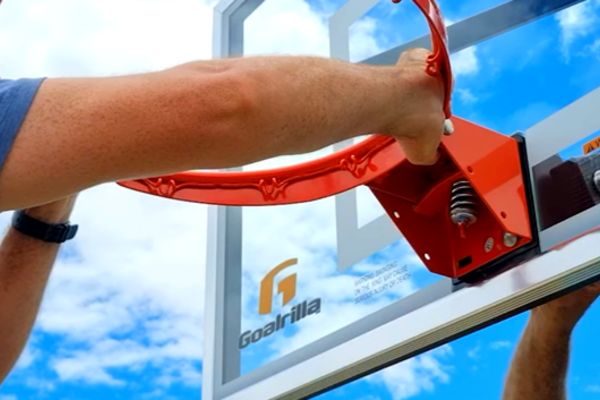
You should work with the rim and net after getting the backboard installed. The rim needs to be merely bounded with the backboard. But if you have a pole with a breakaway rim, you will need to work extra assembly parts.
After setting the rim in place, you will need to loop the net around. If there are multiple hooks, ensure that the placement of the net is right.
Without the right placement, the net will be off, and the slanted nature of the ground will make things work. So, pay a proper amount of attention while putting the net.

What Should You Do If Your Driveway Is Extremely Sloped?
Can any hoop be installed on a sloped driveway? No! If the variation of the ground is more than 3 inches, both the in-ground and portable hoops will be unusable. In this case, you should opt for the wall-mounted hoops.
Find a leveled wall on your driveway and attach the hoop accordingly. It should come with a manual, which you should follow correctly.
Final Words
Learning how to put a basketball hoop on sloped driveway can feel like taking a walk in the park if you follow the correct process. And we can assure you that if you go through the steps above, you should not face any issues at all. However, remember to go through the owner's manual properly before starting the project.
You Can Also Read: